Hey there, it's time for the Baker's Dozen Studio Challenge (a monthly opportunity for the DT to share what makes our stamping studios hum...each month we're asked a fun, crafty question so we can share our favorite products, tips/tricks, stamping advice and more).
The question for April is:
Mix & Match! TE stamp sets are designed with plenty of images and sentiments so they are "self-contained" for lots of creativity, but sometimes it's fun to mix and match several different sets for even more possibilities. Your challenge is to create a project using three or more TE stamp sets.
Easy peasy...I love mixing stamp sets! This was a super quick and easy project using the Acrylic Block Background technique and silhouette stamps. Lucky for me, Taylor has a lot of sets that have solid (or silhouette) stamps! I used the sentiment from Bless Your Nest because I absolutely love the font and who couldn't use a set of thank you cards, am I right!?! The butterfly and some of the flowers/leaves are from Make it Amazing while the balance of the flowers came from Posh Posies. The possibilities for mixing and matching the silhouettes are endless! I wish you could see the subtle shine from the Glimmer Mist! The layout is SCS CAS217.
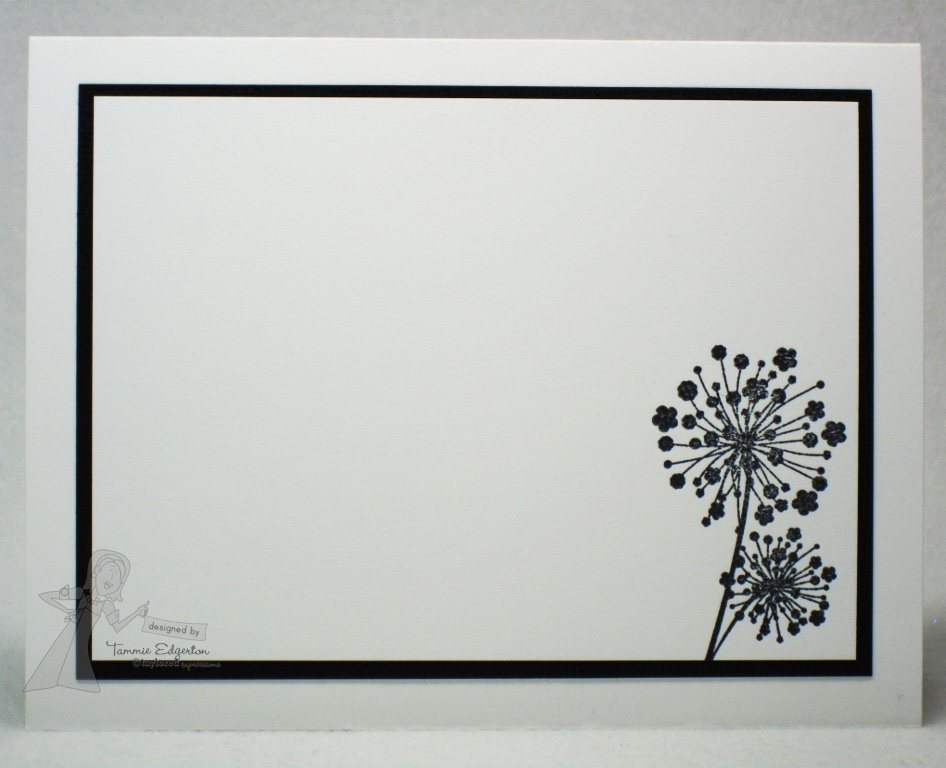
Here's the inside...
That does it for me today, stop by the rest of the Baker's Dozen and check out their "mix and match" projects!
Broni Holcombe - Guest Designer
Carole Burrage
Charmaine Ikach
Jen Shults
Kerri Mchaud
Lynnette Kauffman
Sankari Wegman
Shannon White
Shelly Mercado
Stephanie Kraft
Tammie Edgerton - that's me!
Taylor VanBruggen
Wanda Guess
Thanks for stopping by!

SUPPLIES:
STAMPS: TE (Bless Your Nest, Make it Amazing, Posh Posies)
PAPER: Neenah Solar White; Bazzill Monochromatic (Raven, Ruby Slipper, Admiral, Beeswax, Nixon)
INK: Memento (Tuxedo Black, Angel Pink, Love Letter, Summer Sky, Paris Dusk, New Sprout, Bamboo Leaves, Dandelion, Peanut Brittle)
ACCESSORIES: Sticky note masks; acrylic block; Tattered Angels Pearl Glimmer Mist; Stamp-a-ma-jig; adhesive
TECHNIQUE(S): Masking; Acrylic Block Background
SIZE OF FINISHED PROJECT: A2 (4 1/4" x 5 1/2")
Hey there, UGH...my big sister's birthday crept up on me! How did I let that happen??? I made this last minute bday card for her and I'll pop it in the mail today in hopes it will make it on time. I love this Taylored Expressions, It's Your Birthday, for a quick card...teamed up with the super CAS layout for this week's Splitcoaststampers sketch challenge, it's a win, win!
Here's the inside...more of those fabulous banners!
COPIC COLORING:
WORDS: R46, R43 BALLOONS: R46, R43, YG25, YG21, YG00, Y15, Y11, Y00 STAR: Y15, Y11, Y00 SHADOW: C2, C0
Thanks for stopping by!

SUPPLIES:
STAMPS: TE It's Your Birthday
PAPER: Neenah Solar White; Doodlebug Design Inc Flower Box collection
INK: Copic markers; Memento Tuxedo Black
ACCESSORIES: Spellbinders Grand Calibur; TE Taylored Dies (Banner Stacklets 1); Sakura Clear Glaze pen; Star Dust Stickles; SU Dimensionals; adhesive
SIZE OF FINISHED PROJECT: A2 (4 1/4" x 5 1/2")
Hey there, I've got one more quick card and then I promise I'll be done for the day! Since I still had the Wildflower Silhouette stamp set from Whipper Snapper Designs on my desk, I decided to ink it up one more time. I tore two sticky note masks then positioned them on the panel. Using a Stamp-a-ma-jig, the flowers were stamped with Northern Pine ink. With the masks still in place, an acrylic block was inked all over with New Sprout and around the edges with Bamboo Leaves. You can use water at this point, but I went ahead and used Glimmer Mist to give it a nice shine...the inked block was spritzed with the Glimmer Mist then pressed against the card stock panel. The sticky note masks were removed, and to finish the card, the sentiment was stamped in Northern Pine. LOVE the look of this technique and it's so flippin' easy!
Thanks for stopping by!

SUPPLIES:
STAMPS: WSD Wildflower Silhouette
PAPER: Neenah Solar White; Bazzill Raven Monochromatic; SU Gable Green
INK: Memento (New Sprout, Bamboo Leaves, Northern Pine)
ACCESSORIES: Stamp-a-ma-jig; acrylic block; Tattered Angels Pearl Glimmer Mist; adhesive
TECHNIQUE(S): Acrylic Block Background, masking
SIZE OF FINISHED PROJECT: A2 (4 1/4" x 5 1/2")
Hey there, I'm back with a quick sympathy card. I don't do one-layer cards very often...ok, next to never...so I thought I would give it a try. The stamp set is Wildflower Silhouette by Whipper Snapper Designs. I stamped the flowers and sentiment on the card base (GKD Pure Luxury) with Memento Tuxedo Black. I used four large sticky notes (two layers each) and sectioned off where I wanted to airbrush. I selected five Copic markers then sprayed each creating a gradient background. I peeled off the top layers of sticky notes then misted Copic Colorless Blender (0) over the image. The sticky notes were removed and my one-layer card was complete. Seriously easy! The blender solution makes it look a little like tear stains, don't you think?
COPIC COLORING:
BACKGROUND: B99, B97, B95, B93, B91, 0
THIS PROJECT INCLUDES THE FOLLOWING CHALLENGES:
DESIGNED TO COLOR ~ Sunday Showcase on Facebook (combined one layer with monochromatic)
JUST US GIRLS ~ #184 Technique (Ombre)
Thanks for stopping by!

SUPPLIES:
STAMPS: WSD Wildflower Silhouette
PAPER: GKD Pure Luxury
INK: Copic markers; Memento Tuxedo Black
ACCESSORIES: Stamp-a-ma-jig; sticky notes; Copic Airbrush System; Mini Mister (Copic Colorless Blender)
TECHNIQUE(S): Masking; airbrushing
SIZE OF FINISHED PROJECT: A2 (4 1/4" x 5 1/2")
Hey there, happy Sunday! It's kind of an overcast day here on the Oregon coast. It really looks like it could go either way. Blue sky in the back yard, rain clouds in the front. Hamilton has the right idea...he's one prepared little bear! He is from Whipper Snapper Designs and an absolute BLAST to color! If you've been to my blog before, you already know how much I *adore* my Sakura Clear Glaze pen. Oh boy, am I in heaven with this card! Everything has been glazed...the rain drops, puddle, rain coat, hat, boots, umbrella, his eye and even his nose! It took a while to do it, but it was all worth it! Oh, and if you stopped by my blog a couple days ago, you know that I tried a new technique only it didn't work out so much so I colored over it. Well, I used a different cloth (a softer one) and tried the same technique on Hamilton and I like the effect so much better. What do you think; does the texture on the bear look more fur-like?
COPIC COLORING:
BEAR: E44, E43, E42, E41, E40 NOSE: C6, C4, C2, C0 RAIN COAT/HAT: Y17, Y15, Y11, Y00, Y0000 BOOTS: C6, C4, C2, C0, C3, C1, C00 UMBRELLA: R08, R05, R02, C3, C1, C00 RAIN DROPS/PUDDLE: BG75, BG72, BG70 GROUND: E43, E42, E41, E41 SKY/CLOUD: C00, BG72, BG70
Thanks for stopping by!

SUPPLIES:
STAMPS: WSD Hamilton
PAPER: Neenah Solar White; Bazzill (Raven Monochromatic, Classic Red)
INK: Copic markers; Memento Tuxedo Black
ACCESSORIES: Spellbinders Grand Calibur; TE Taylored Dies (Cloud Duo); Sakura Clear Glaze pen; soft cloth; Copic Colorless Blender (0); SU Dimensionals; adhesive
SIZE OF FINISHED PROJECT: A2 (4 1/4" x 5 1/2")